![How to Migrate Shopify to Magento [Video]](https://www.shopping-cart-migration.com/wp-content/uploads/c2c_blog_featured1.png)
Shopify is a hosted e-Commerce solution with rich features, numerous free templates and CMS capabilities. However, it has lack of free extensions and is not very flexible. These are main reasons why e-merchants decide to migrate their Shopify stores to Magento. Magento shopping cart is open source solution. It means you get access to source code and can modify some features according to your needs. As a result your platform becomes more flexible.
With Cart2Cart migration from Shopify to Magento will be fast, accurate and straightforward. The process is fully automated, so you don’t need programming skills. Before performing Shopify migration make sure you:
- installed desirable Magento store;
- have access to Store Admin panel and FTP;
- estimated price of migration;
- to ensure data security we recommend to save database on USB, DVD or hard drive.
Watch our video tutorial to make your migration process easier.
Now you have to follow an easy step by step instruction:
Stage 1. Create Cart2Cart account
You have to register a new Cart2Cart account or sign in with your existing Google or Facebook account.
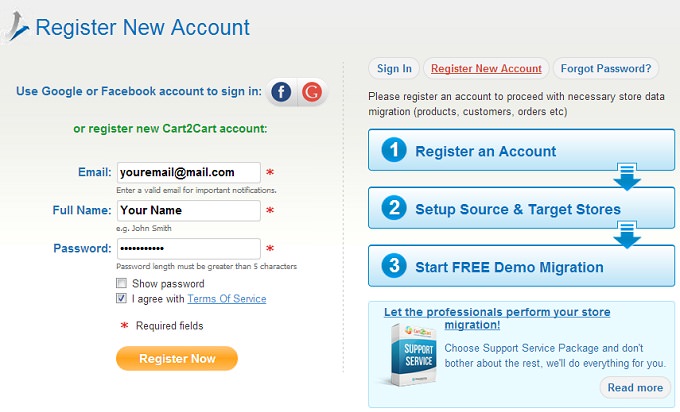
Stage 2. Pick Your Source Cart
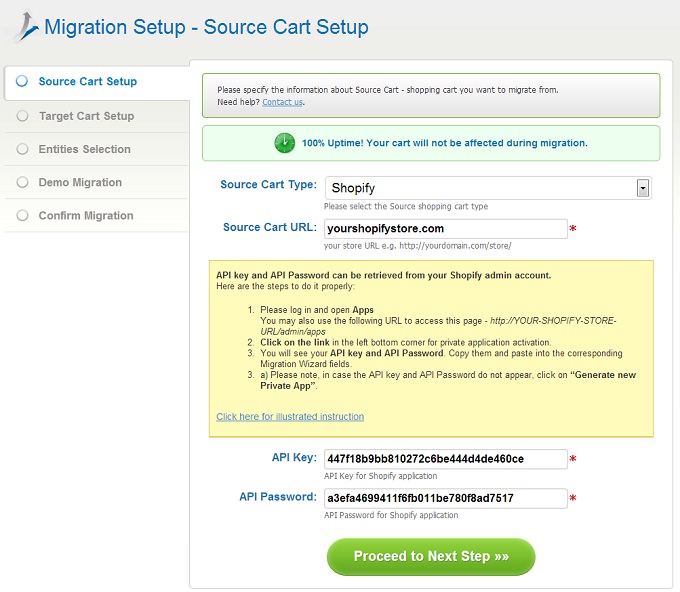
From drop-down menu you have to choose Shopify. Then enter your current online store’s URL. The next thing you have to perform is provide API Key and API Password from Shopify shop. To do that you have to enter admin panel, go to APPs menu and click on the link to activate private application. Here you will see API key and API Password.
Stage 3. Pick Your Target Cart
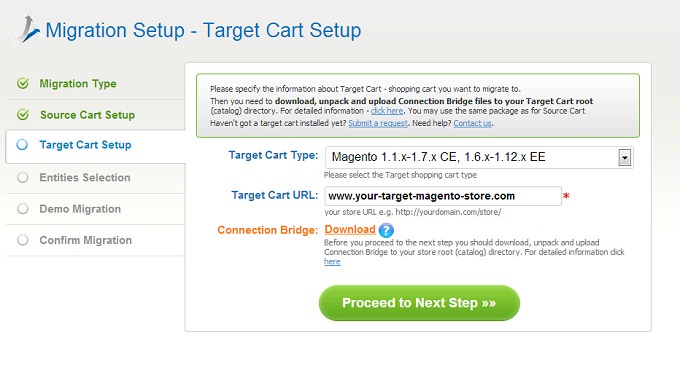
Select Magento as your Target Cart from a menu. Then enter Magento shop’s URL. The next thing you have to perform is Connection Bridge installation. To do that you have to:
- download Connection Bridge
- extract it from zip archive
- paste it to the root directory with the help of FTP client
In order to make your Connection Bridge set up easier we recommend to look through our FAQ.
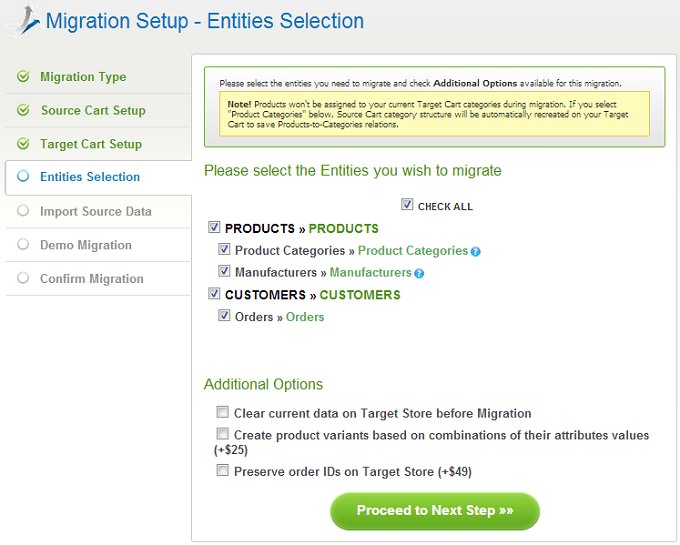
Stage 4. Entities Selection
At this point, you are able to pick entities, which have to be migrated to Magento (products, orders, customers or all together). You will also have a possibility to select additional options in order to expand migration functions. bear in mind these options are for additional cost.
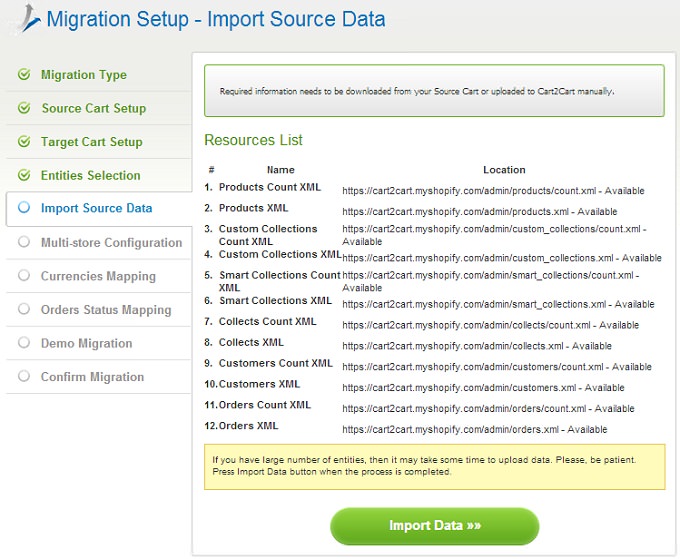
Stage 6. Import Source Data
On this step, Cart2Cart uploads information automatically, so you can just press Import Data button.
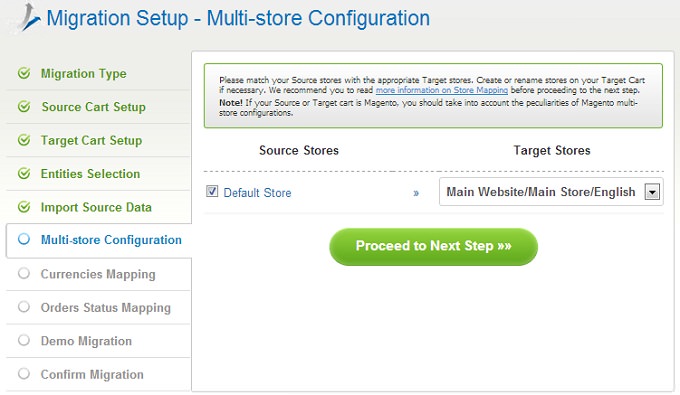
Stage 7. Multi-store Configuration
Since Magento supports multi-store function, you are able to map target and source stores.
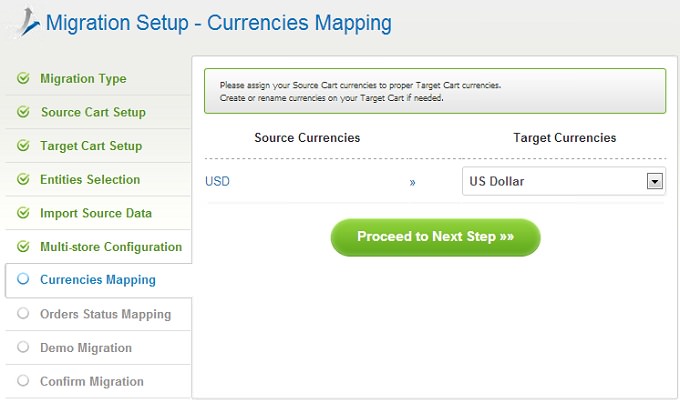
Stage 8. Currencies Mapping
If you use more than one language to sell your products, Cart2Cart provides an opportunity to move them as well.
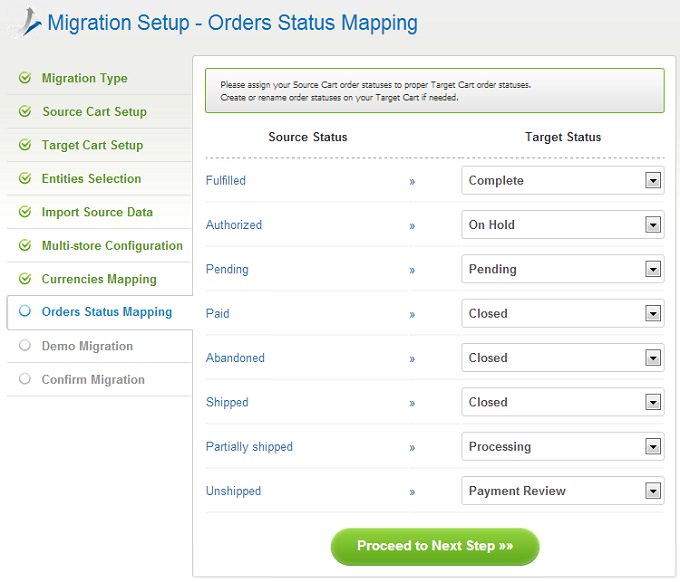
Stage 9. Map Order Statuses
Order migration may require order statuses mapping. At this point you can perform that.
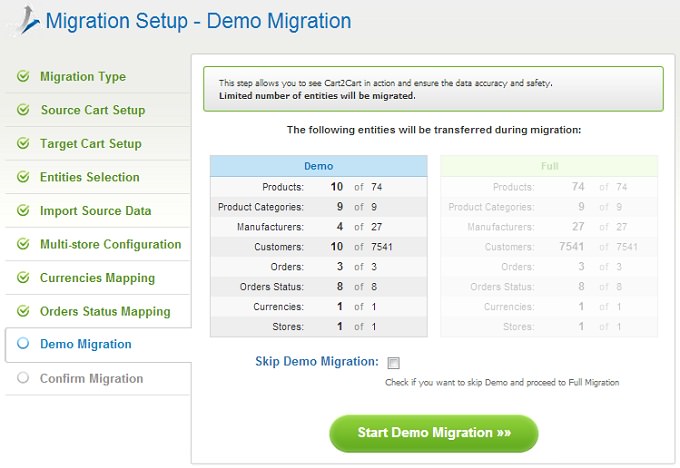
Stage 9. Demo Migration
On this step, you are able to try how everything works and evaluate results. We highly recommend not to skip this step. Moreover it will take only a few minutes.
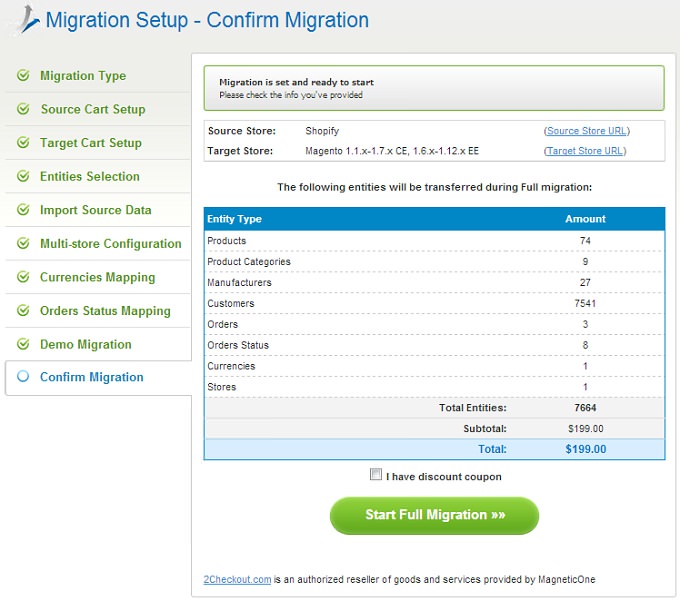
Stage 10. Full Migration
The final step is Full Migration. Make sure you have enough cash on your account, double check entities and press Start Full Migration button. After migration is completed, you will receive an email notification.
After migration is finished, you can check result. Now you are owner of newly established Magento store.

 March 31, 2025
