![How to Migrate from BigCommerce to Magento [Video]](http://www.shopping-cart-migration.com/wp-content/uploads/c2c_blog_featured1.png)
Nowadays a lot of store owners prefer Magento to BigCommerce. The main reason is Magento’s multi-functionality. It offers all main product management features, advanced marketing and SEO tools, numerous payment and shipping options. Thats why e-merchants make a decision to move their stores from BigCommerce to Magento.
Cart2Cart is fully automated migration service, which will help you to perform BigCommerce migration. All you have to do is to follow a straightforward wizard instructions.
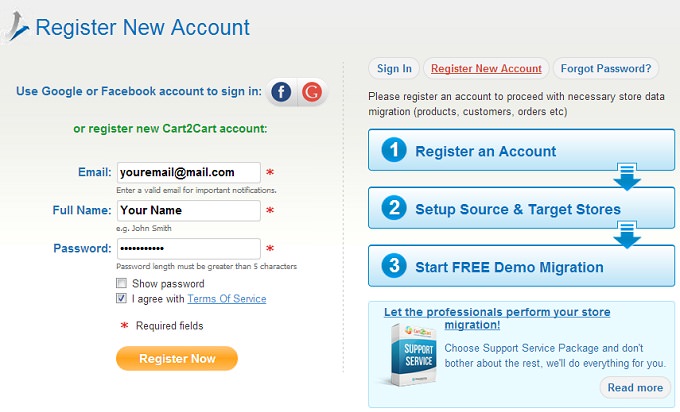
Stage #1. Registration
To start migration you don’t have to download any software. All you have to do is to register an account or sign in with your already existing Google or Facebook profile.
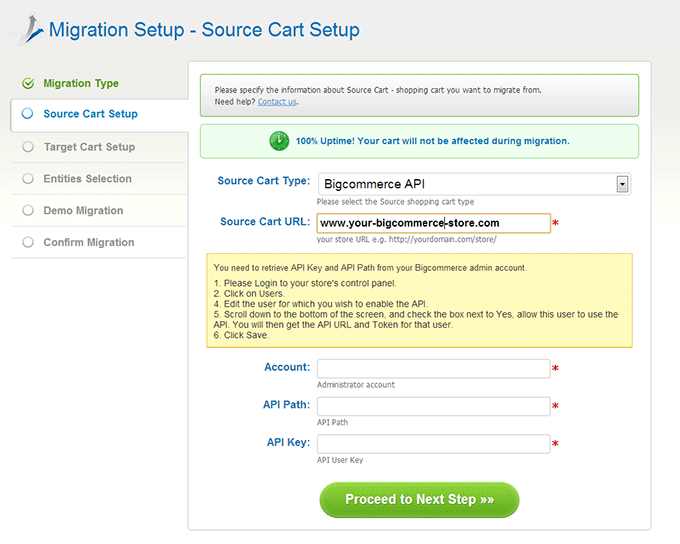
Stage #2. Source Cart Setup
Firstly, you have to pick BigCommerce from the drop-down menu and paste online shop’s URL. After that, you need to login to store’s control panel and click on Users. Here, you have to edit the user for which you wish to enable the API. Then you have to allow user to use the API by putting a tick in an appropriate field. After that, you will get the API Key and Path for this user. Copy and paste this information and save the result.
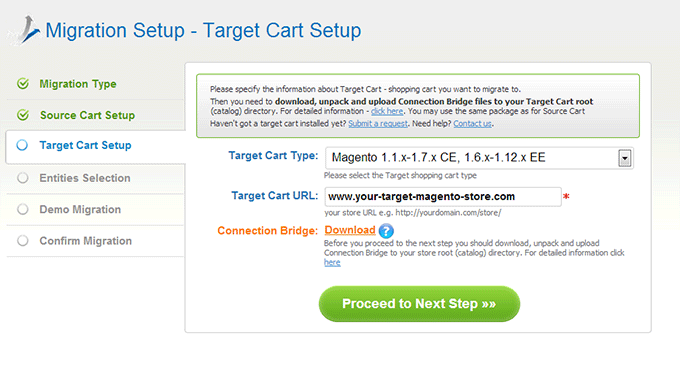
Stage #3. Target Cart Setup
On this step, you have to provide information about your Magento cart. Choose Magento version from the list and enter web store’s URL. After that, you should download a Connection Bridge to your computer and unpack it. Then upload a file to the store root directory. In a case, you face some troubles while bridge installation process, follow a corresponding link.
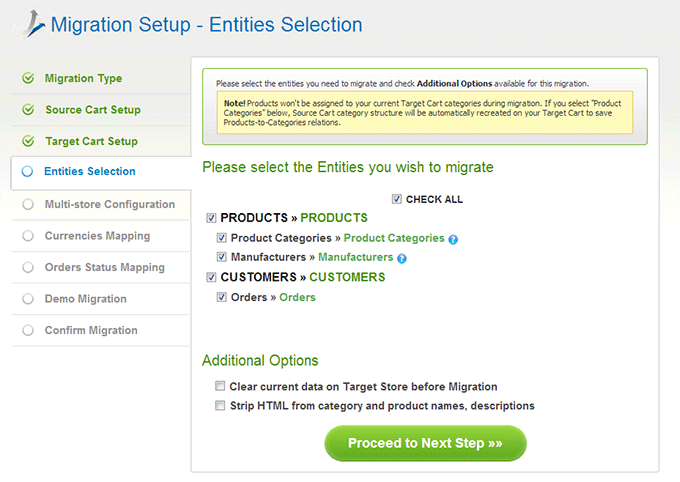
Stage #4. Pick Entities
At this point, Cart2Cart provides an opportunity to select store entities you would like to shift to Magento store. Here, it is also possible to choose additional options.
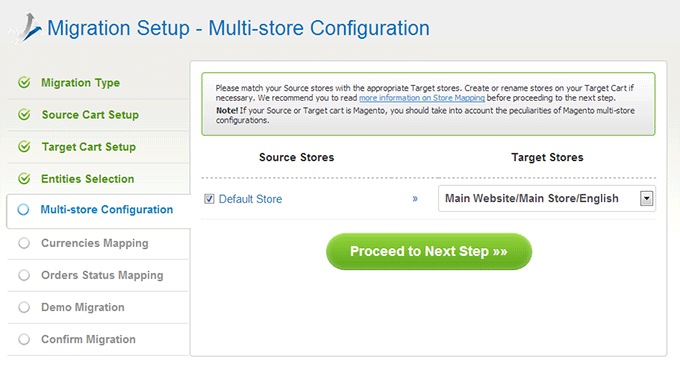
Stage #5. Multi-store Configuration
On this step, you are able to map source and target stores.
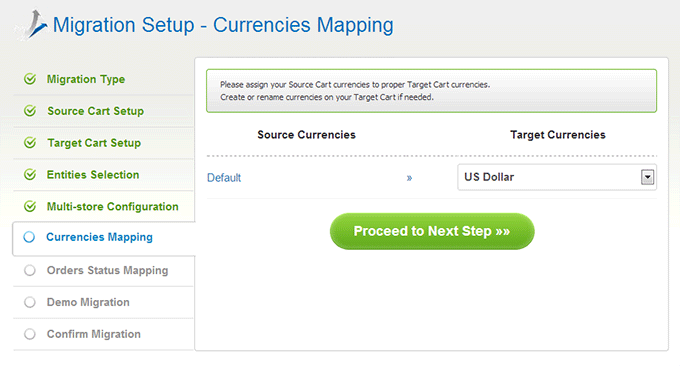
Stage #6. Currencies Mapping
Do you use several currencies to sell products on you source BigCommerce store? Cart2Cart offers a possibility to transfer them, as well.
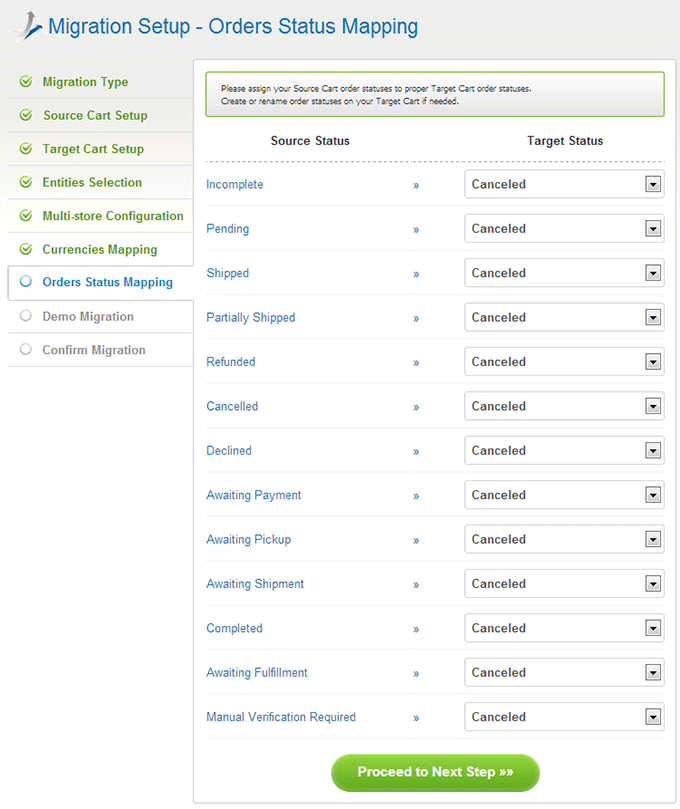
Stage #7. Order Statuses Mapping
In a case, you’ve selected to move your orders, here you will be able to map order statuses. If you can’t find an appropriate order status, enter admin panel and create a new one.
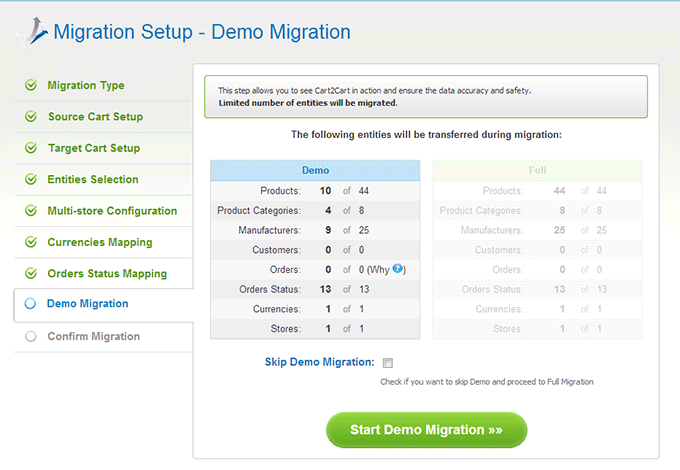
Stage #8. Start Demo Migration
Totally free Demo Migration will help you to understand how the service works. You may skip this step, but it is highly recommended to perform Demo. Furthermore, it will take you only a few minutes.
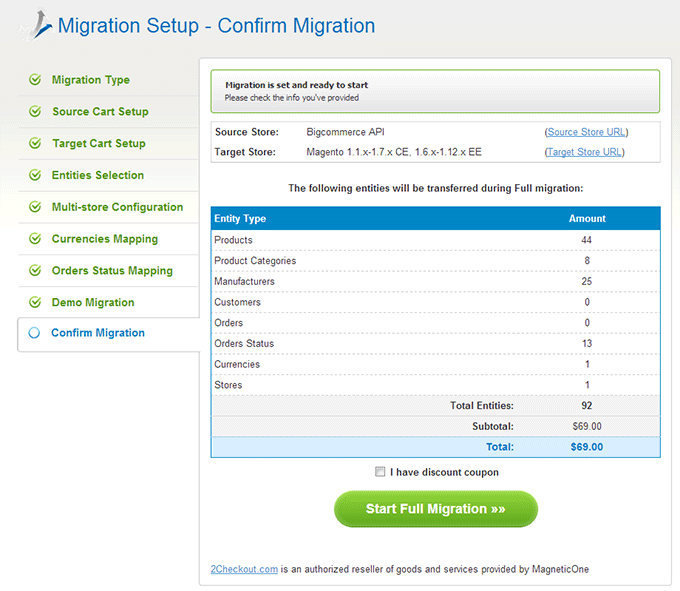
Stage #9. Confirm Full Migration
The last thing you have to do is to confirm Full Migration. Before you press Start Full Migration, double check entities you wish to transfer.
After data transferring is completed, login your admin panel and check migration results. Now you are ready to sell products on Magento store.


 March 31, 2025
